This page contains some simple instructions to make a returning paper boomerang.
It is a “three prong” boomerang (not a traditional Australian curved banana!).
This is because it works better with paper.
At the end are some you tube videos with some other designs.
You will need:
- A4 paper
- Ruler and pen
- Scissors
- Sticky Tape
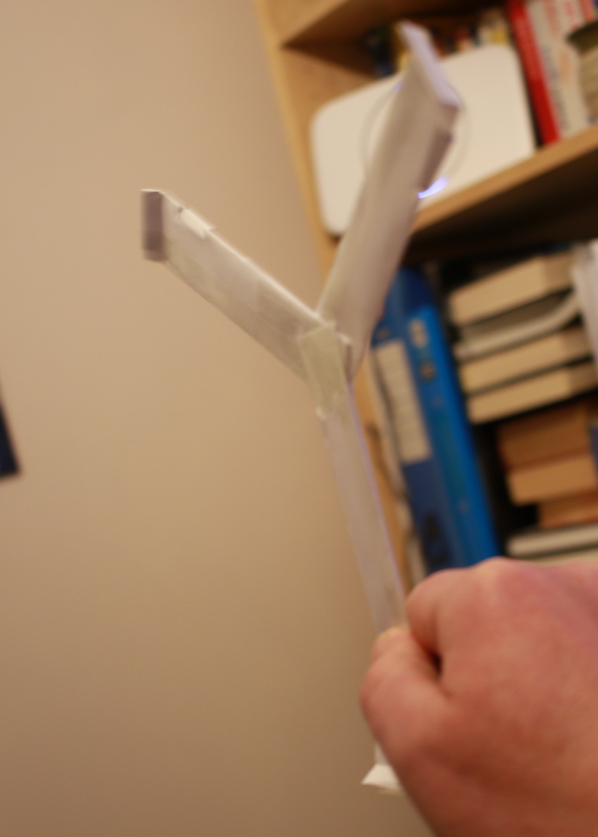
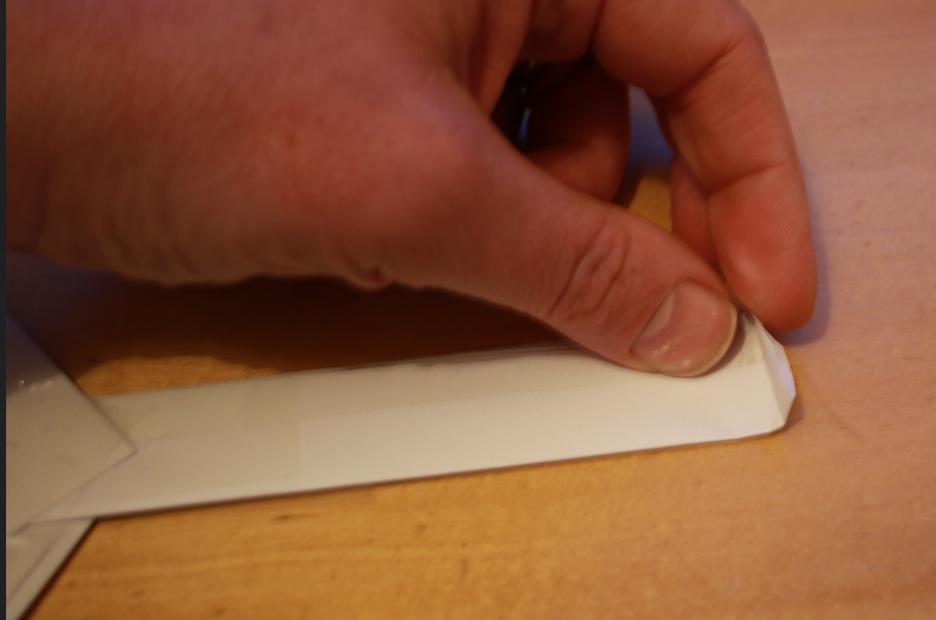
The key is to hold it at the end of one spoke, and then throw it forwards with a flick of the wrist as well to start it spinning.
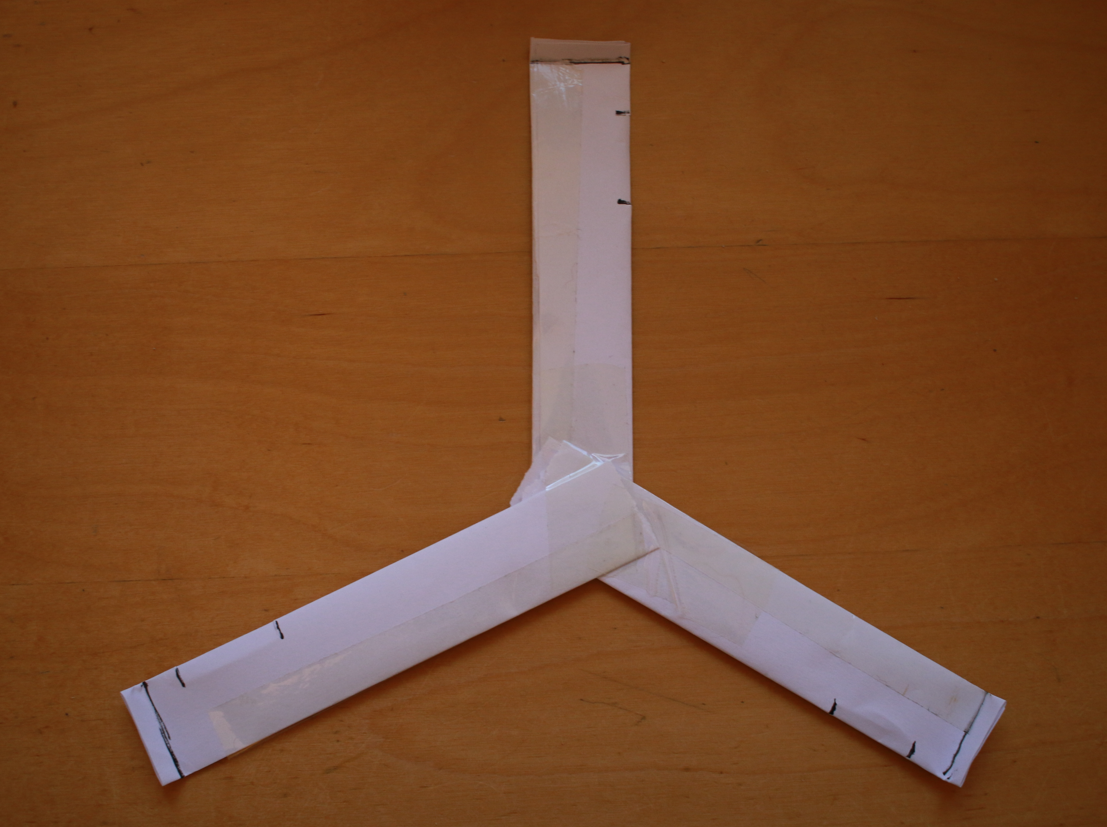
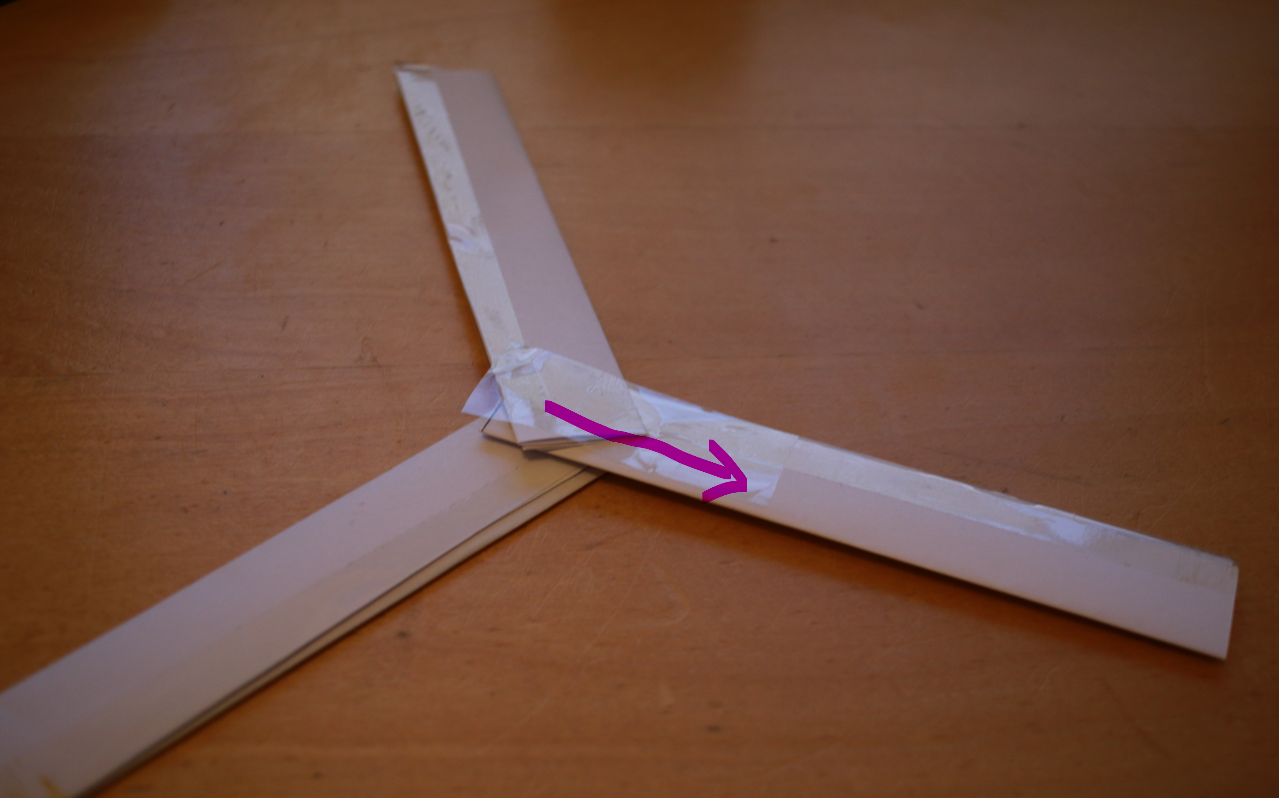
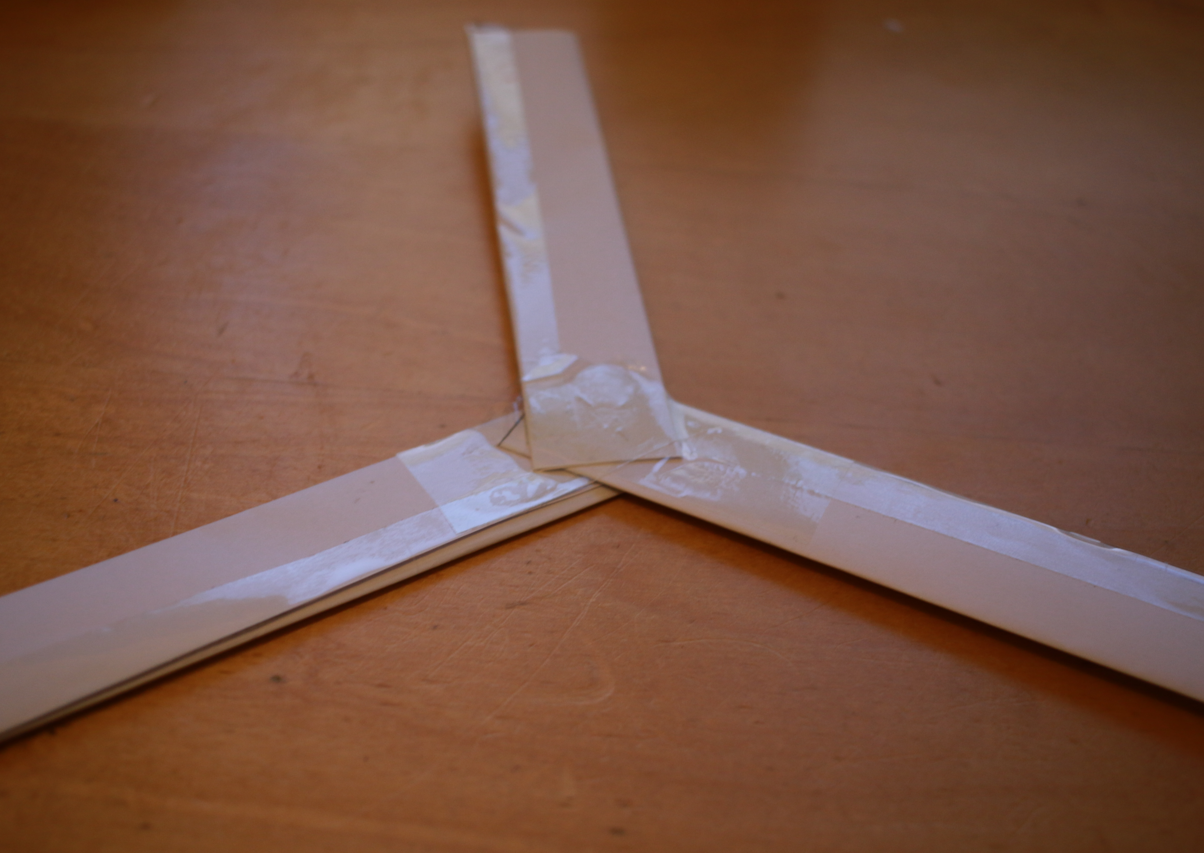
You are making something that looks like this:-
Note that if you are right handed then the bends at the end of the spokes are towards you.
The flaps in the spokes are optional.
Final picture above shows how to hold it.
Remember a throw combined with a flick of the wrist.
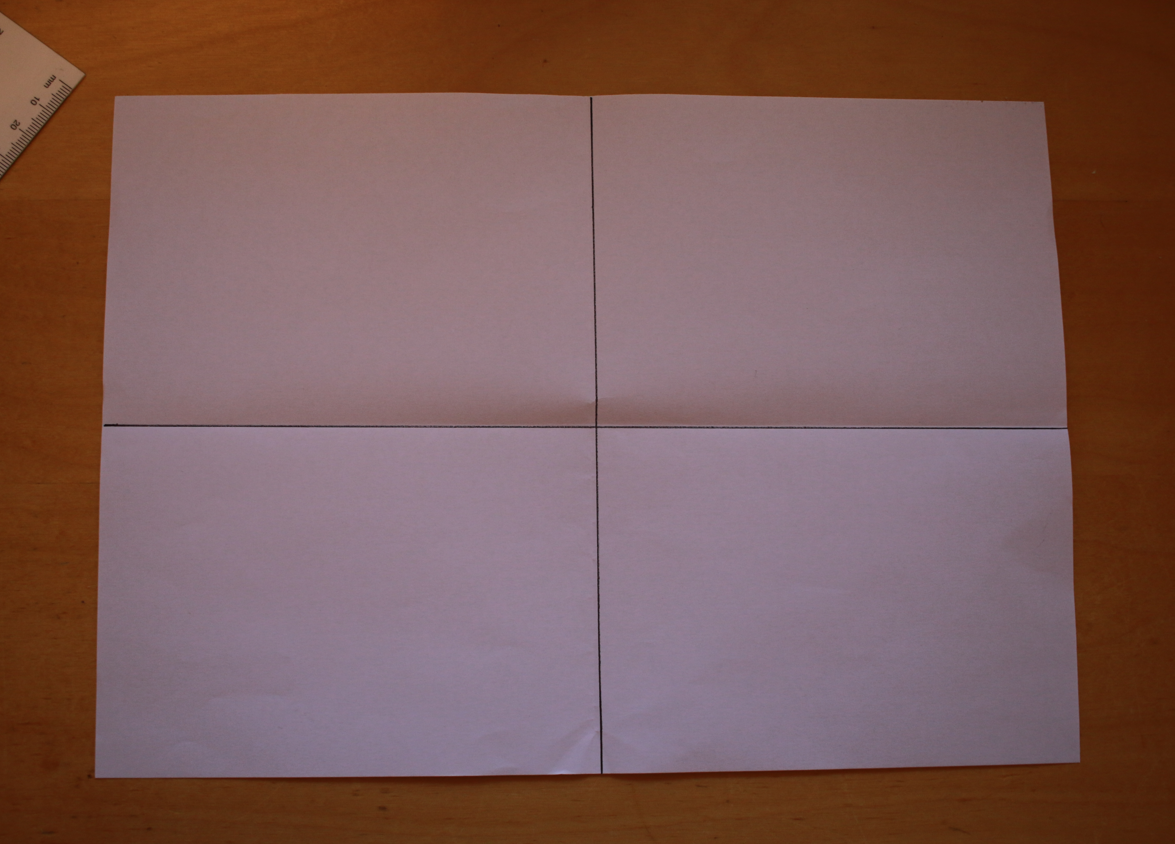
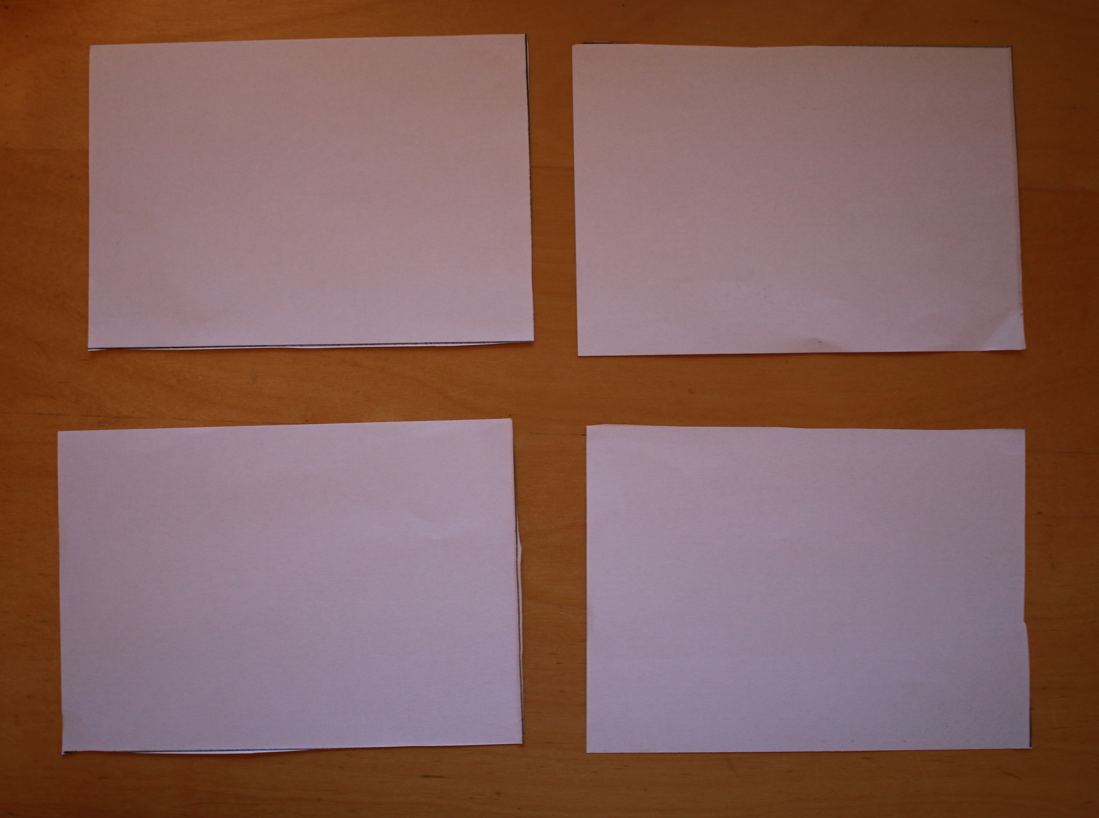
The first step is to quarter the A4 paper. Fold lengthways, and widthways, draw lines on folds, and cut out.
Discard the fourth quarter, or keep for another boomerang!
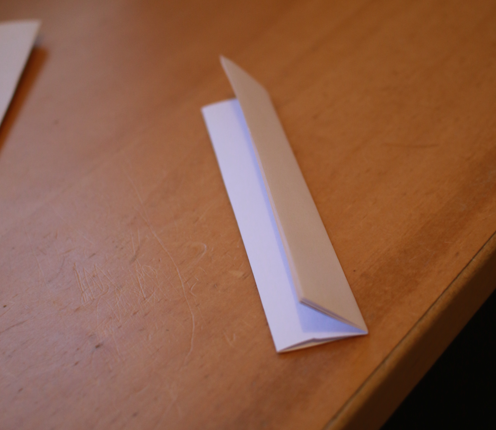
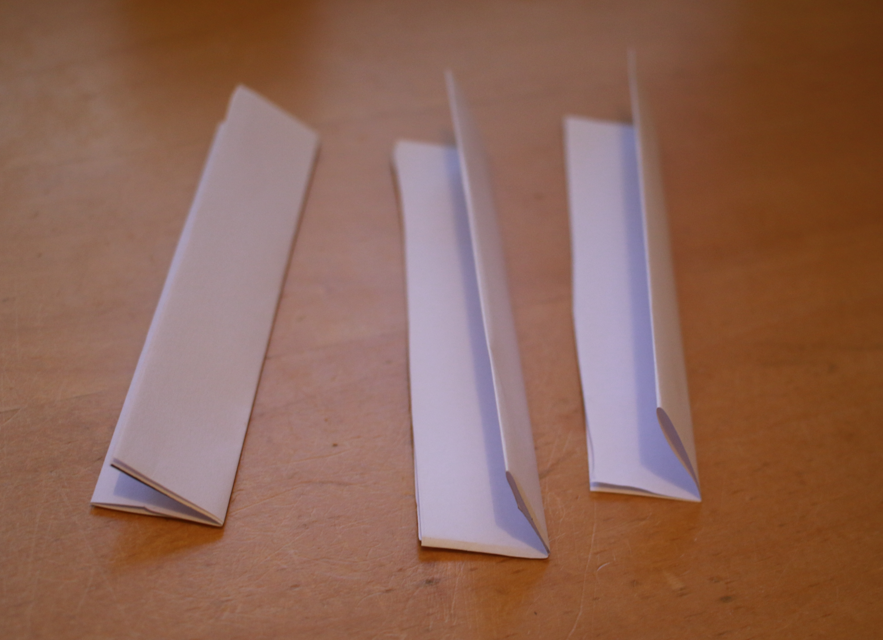
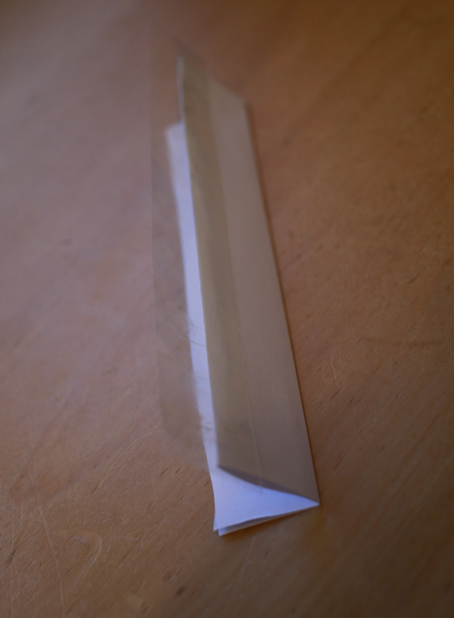
This boomerang is made up of three spokes (wings). Fold each quarter of paper, in half, lengthways, and then in half again. Do this for all 3 spokes.
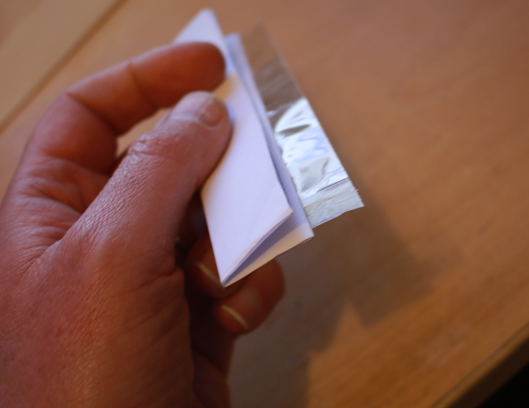
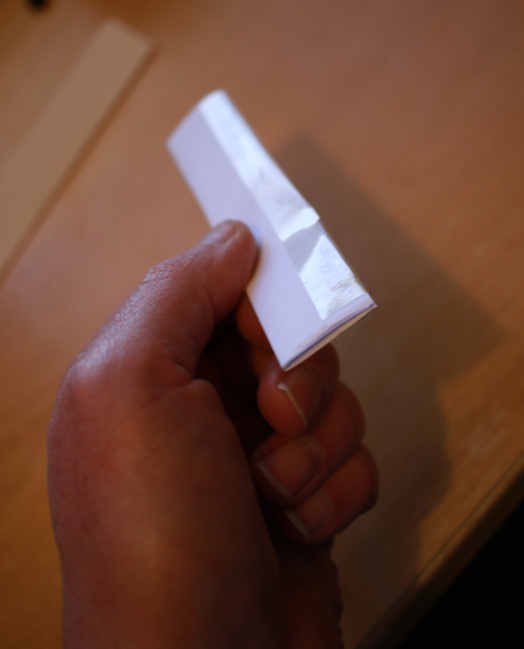
Next use sticky tape to seal the open half of the fold on each spoke. Cut a length of tape, stick half along one side, then fold over to the other side to seal. Do for all three spokes.
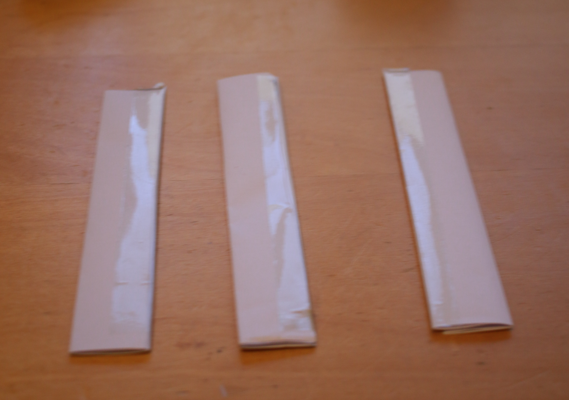
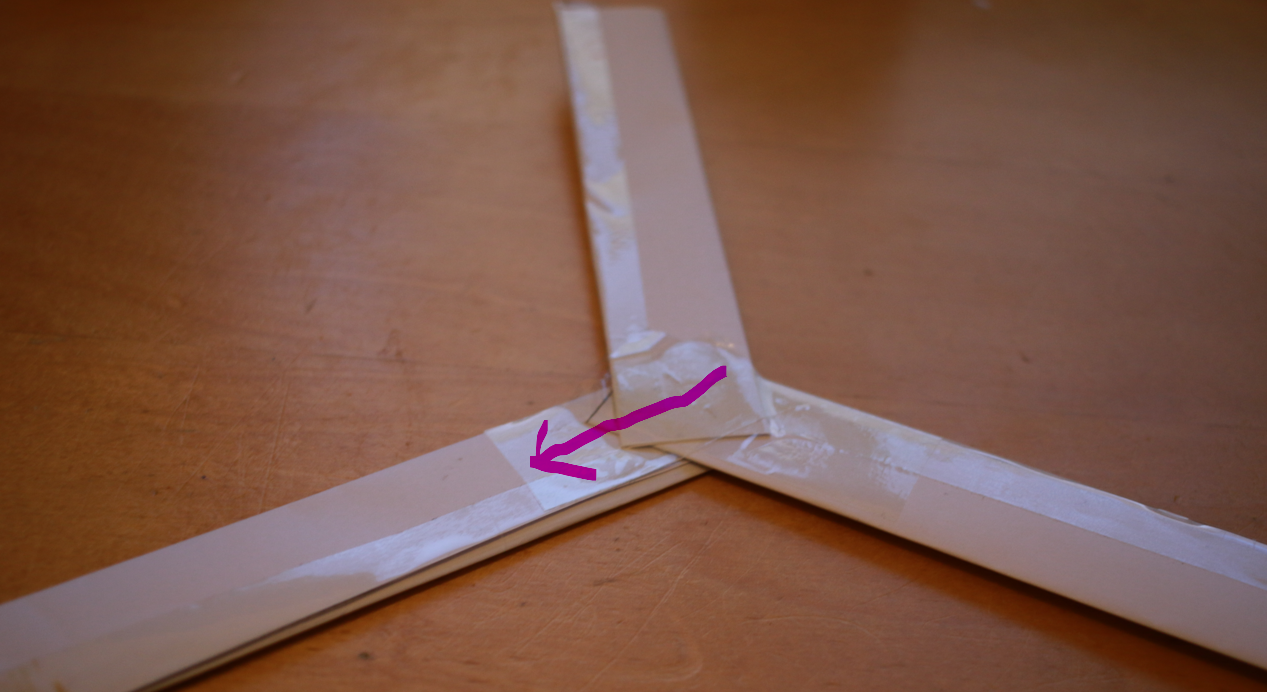
Next join the spokes. Line up as shown below. Make sure that the sticky tape end is facing in the direction of spin for each spoke. Use two bits of tape to join them on one side. Do the same on the other side.
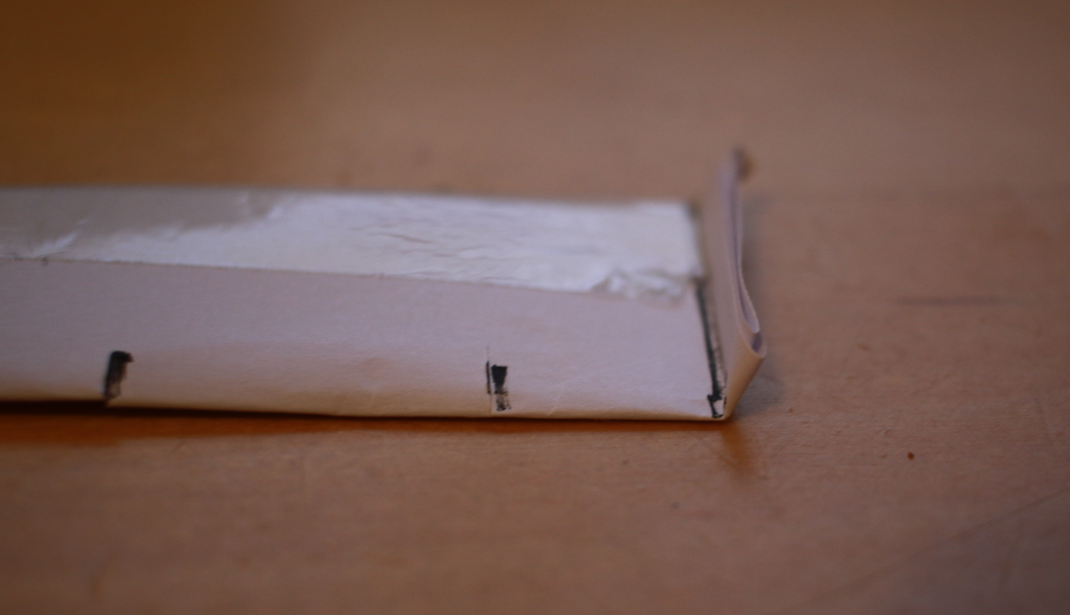
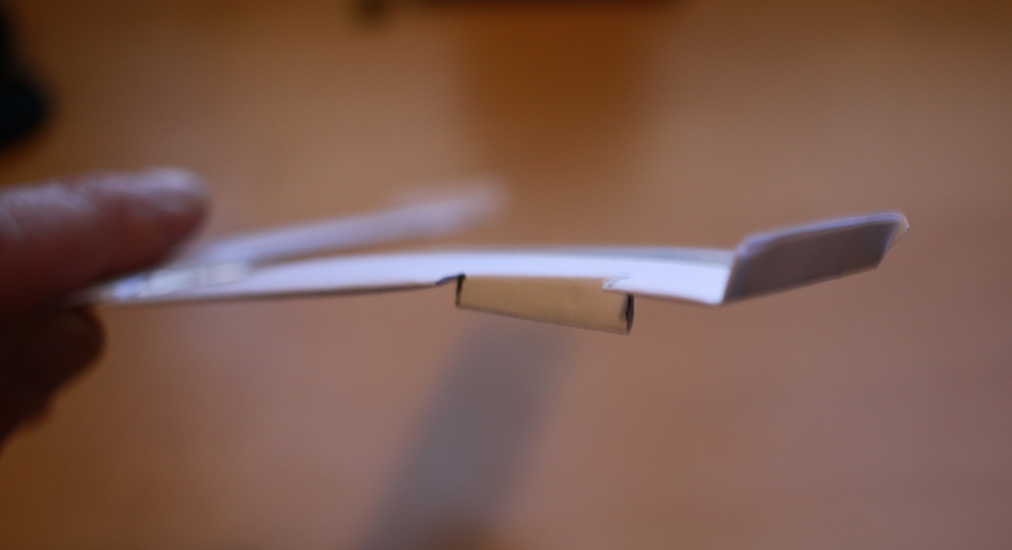
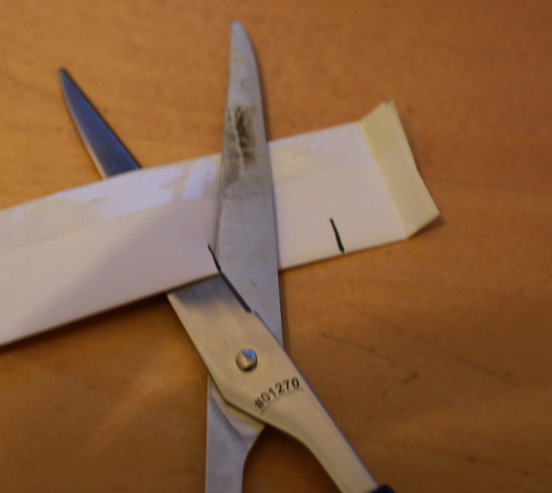
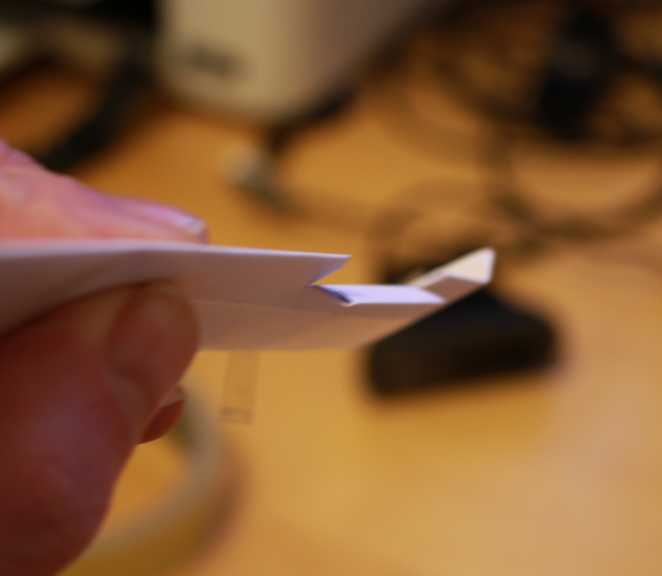
Next bend the end of each spoke up as shown. Optionally, you can also cut out a flap along the spoke – may improve lift. See pictures. The flap is at the back of the wing (opposite to direction of spin). The ends are bent towards you, the flaps bent away from you.
If you want to experiment some more, try these: